
Melt-and-pour soap is one of the easiest “DIY” projects out there. The soap is pre-made – the hard work is already done for you! You get to skip straight to the fun part:
Customizing the SOAP!
These make GREAT gifts! I mean everyone uses soap, right? I gift “homemade” bars of soap to my friends, my neighbor, the “mom’s” in the family for Mother’s Day…. I’ve even stuck them in gift baskets at Christmas time. Most recently I was asked to make them for my sister-in-law’s baby shower so she could gift them to her guests. It was an honor making your party favors, Amie! 🙂

Cute!

To start – you need soap base, soap dyes and scents or oils. You can get this stuff for SUPER cheap from any craft store.
The base is usually sold in 2 or 5 pound blocks. If you go to Michael’s or Hobby Lobby, you can use a 40% off coupon. The 5 pound block from HL should have cost me $22 but I got it for about $13 with the coupon.
A 5 pound block will make more soap than you know what to do with.

Following the instructions on the package, you’re going to cube the soap and melt it in the microwave – or on the stovestop.

I usually do 1 lb. at a time. 🙂
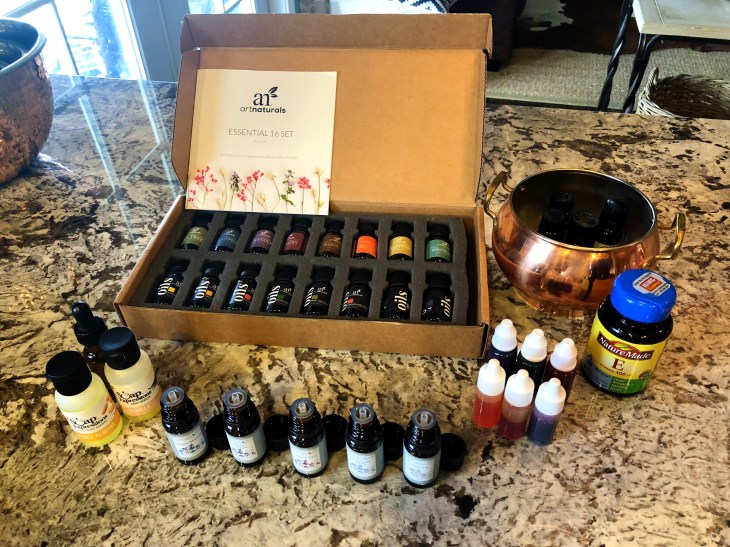
Here’s my crazy arsenal of soap making supplies to mix into the base:
- Brown box – essential oils
- To the left – soap scents
- The row in front – scented oils (such as “ocean mist”)
- The white caps – soap dye
- The bottle – Vitamin E capsules
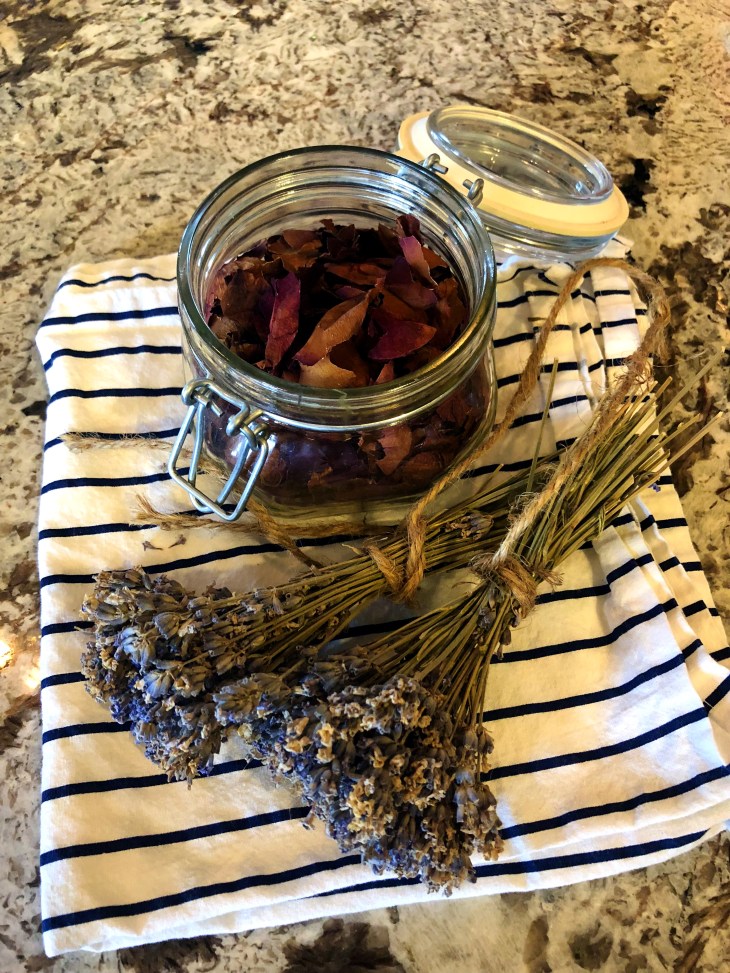
Above: Dried rose petals and lavender from my gardens. I also use dried Rosemary and Himalayan salt. These are optional but if you chose to use them you’ll achieve different textures.

Let the customization begin!
In the picture above you’re looking at melted soap base to which I added pink and yellow dye, crushed rose petals and, “Sweet Pea” scented oil.

(Obviously a different batch) I also like to add a few drops of Vitamin E to enhance the soap. 🙂
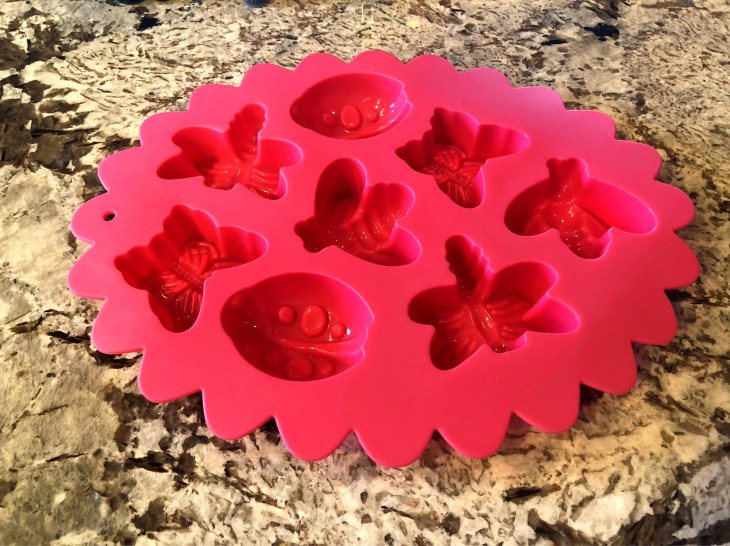

Soap poured into the mold.

You can turn them out after about 45 minutes. I placed them on wax paper. I made four batches that were all different in colors/scents/textures.
Cute little dragonfly all packaged up.

Out of the four I created, this was my favorite scent. I like crisp clean scents. This was a combination of rosemary EO and ocean breeze scented oil.

The basket they used as presentation for the party.
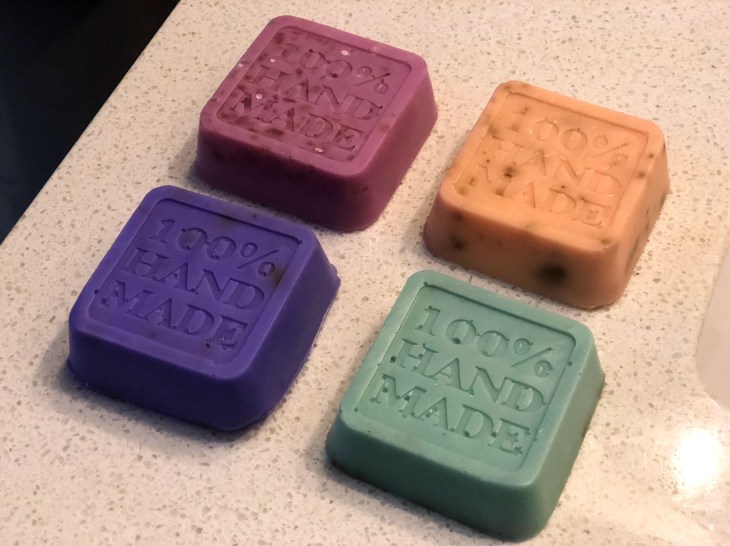
Here are the extras I made for myself and my neighbor, Sarah. It’s the same soap from the tutorial, I just used my square mold instead.
- Dark Pink – I named it “Birthday Cake.” Made with pink and purple dye, honey, lemon and almond EO, vanilla soap scent, and pink Himalayan salt (for texture).
- Peach – I named it “Sweet Pea.” Made with pink and yellow dye, lemon EO, sweet pea scented oil, and crushed rose petals from the garden.
- Purple – I named it “Lavender Vanilla.” Made with purple dye, lavender EO, vanilla soap scent, and lavender buds from the garden (for texture).
- Green – I named it “Rosemary Breeze.” Made with green dye, Rosemary EO, ocean breeze scented oil, and crushed rosemary from the garden (for texture).
Making Soap the EASY way! (melt-and-pour tutorial)
Supplies:
- Soap base (don’t forget, 40% off coupons online!)
- Soap dye
- EO (Essential oils)
- Scented Oils
- Soap scents
- Vitamin E Capsules
- Add-ins for texture
- Soap mold
The instructions are self explanatory. Everything you need is located in the soap isle at the craft store. Make sure you melt the soap according to the instructions on the package. The soap scents are concentrated so a little goes a long way. Same for the EO. The vitamin E and add-ins are optional. All of it’s optional actually. If you’re feeling ‘plain Jane’ you can just melt the soap and pour it directly in to a mold. LOL
The point is to have fun. This is a really fun project that’s cheap and easy. You could even take your little one to the craft store and let him or her pick out a fun mold and then make soaps together for bath time. I like to make custom soaps for my sensitive skin; ie. goats milk base with lavender EO and ground oats.
Just get creative and have fun! Xoxo
