
When it comes to birthday parties I’m “Over-the-top-Mom.” We all know the type… Pinterest boards, homemade party decorations, crazy dessert spreads, too many activities, too much food, labeled drink stations, and super spoiled children!!
This year’s theme for my daughter’s 5th birthday is “Magical Sweet Shoppe!” We’ve been planning it since the end of last summer……… and her birthday doesn’t happen until…..
…the end of April.
See? I’m ‘Over the top Mom.’
“Thank you for understanding that my child’s birthday party is a big deal, and for joining me in my psychotic party planning.”
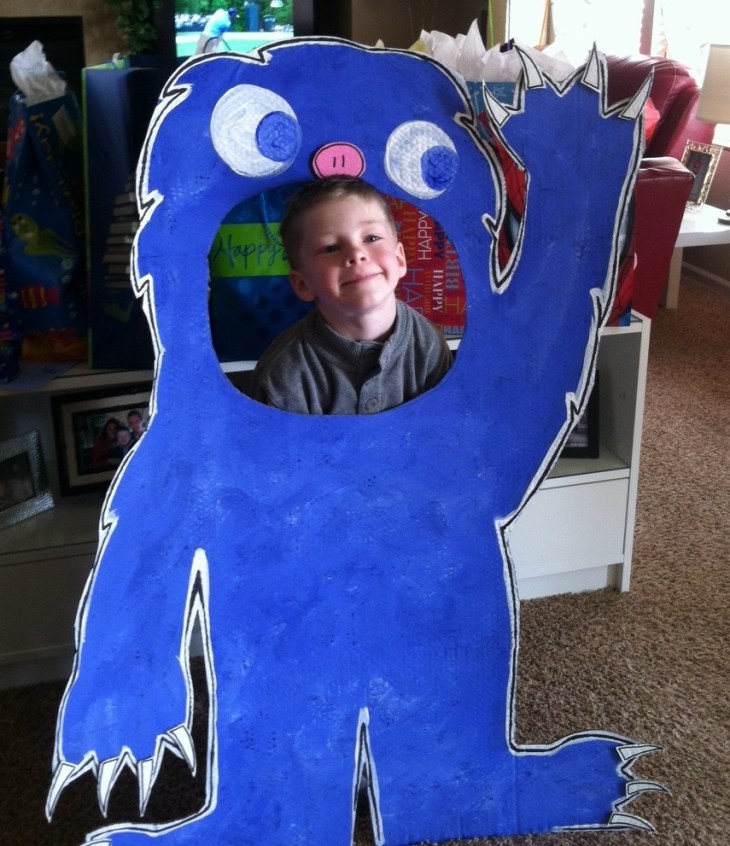
So anyway, I like to have a photo backdrop or photo props for two reasons: people like taking fun photos of their kids (or themselves!), and it’s an activity to keep people busy.
This is a monster prop I made for my son’s 6th Monster Bash. Afterwards I handed it down to a friend who was able to use it again which made me very happy!


How cut are these!? “Jailhouse” props and a “Wanted” photo backdrop from Belle’s 3rd Cowgirl birthday. 🙂
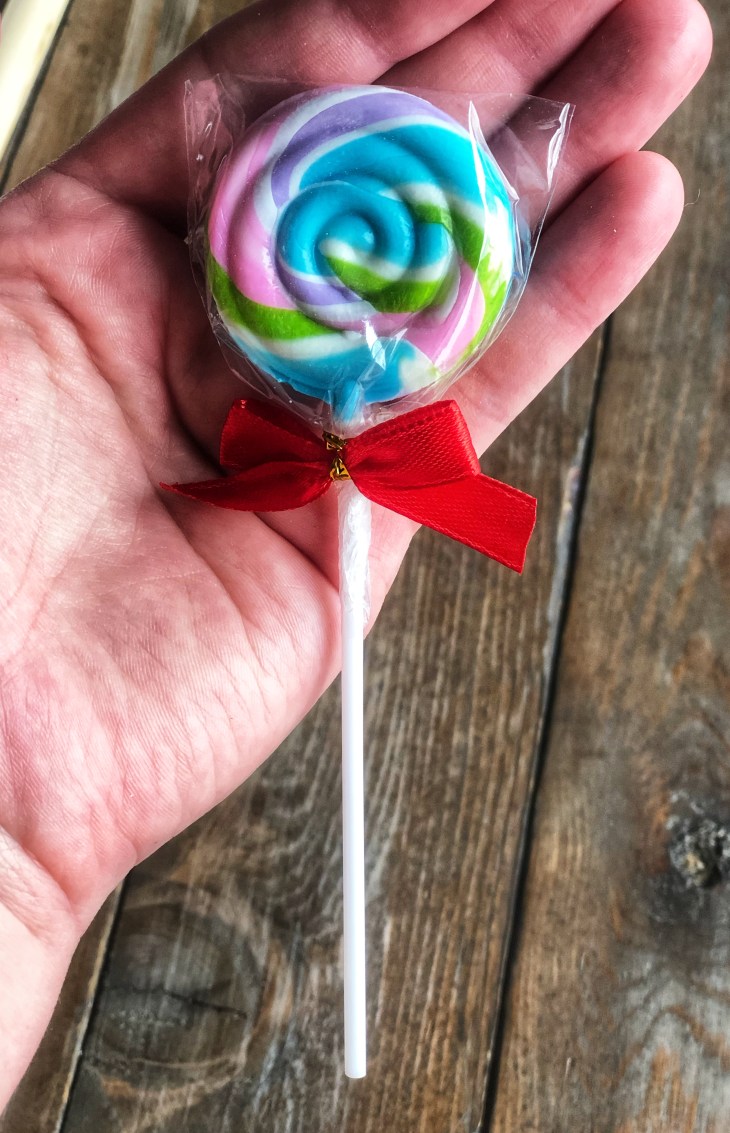
Since I’m hosting a magical sweet shop I figured giant candy props are in order. The inspiration came from this little lollipop and a whole lot of Pinterest scrolling.
I think they turned out pretty cute and they’ll be a great addition to our photo backdrop. Best of all – they were simple and cheap to make!
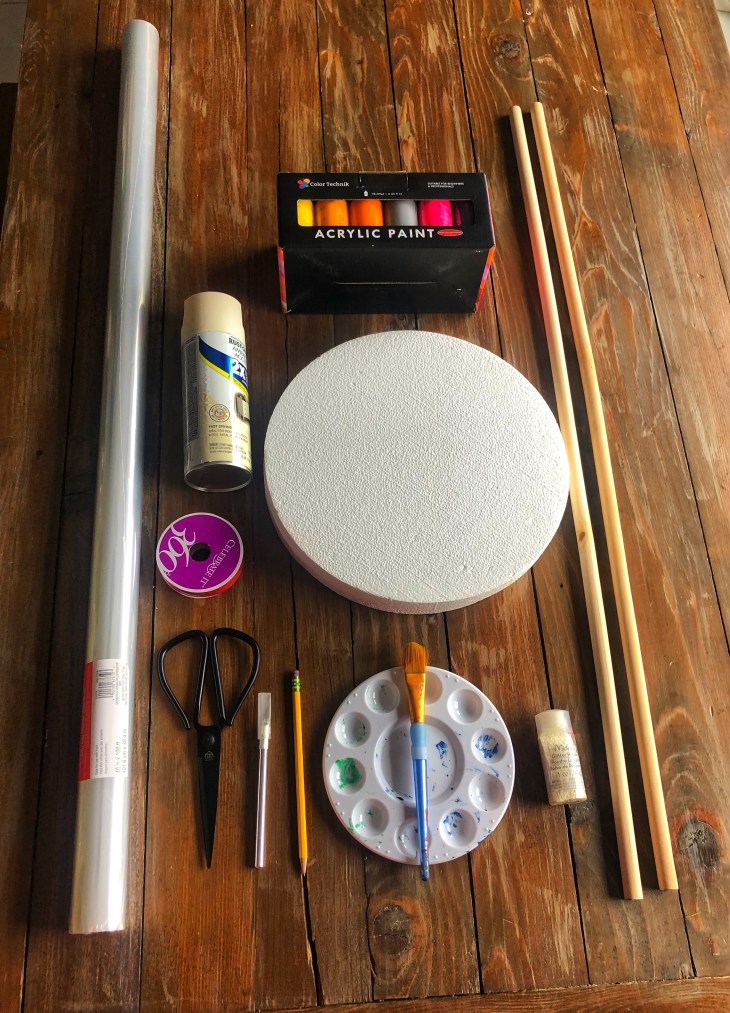
To make a pair of lollipop props you need the following:
- 2 Dowel rods
- 2 Styrofoam rounds
- Paint (preferably acrylic paint)
Paint them, stick a dowel rod in the bottom, call it a “lolly,” and then you have a sweet prop for your party. 🙂
To make them more realistic you can add the following:
- Glitter… it makes everything magical!
- White spray paint for the dowels
- Cellophane to wrap them in
- Red ribbon bow
You need tools too:
- A knife to cut the hole for the dowel (like an Exacto knife)
- Wood glue or hot glue to stick the dowel into the Styrofoam
- Hopefully you have scissors and a pencil too 🙂

For the rounds I bought the 12″ by 1″ discs with a 40% off coupon. I also bought two 5/8″ by 36″ dowels that cost $1.29 each.
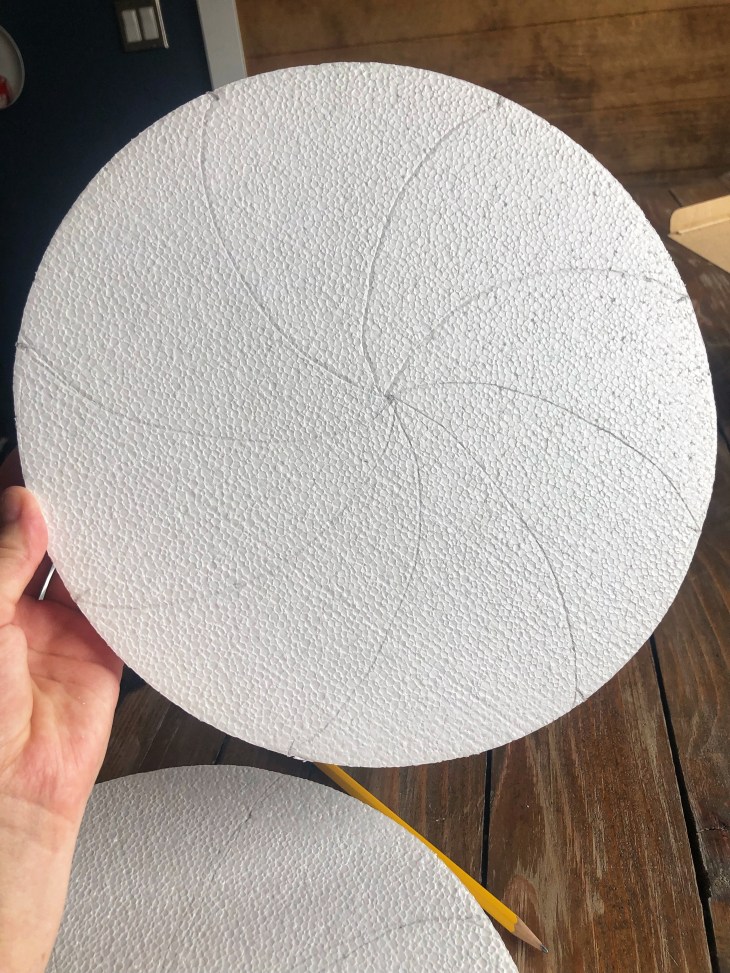
I sketched the design.

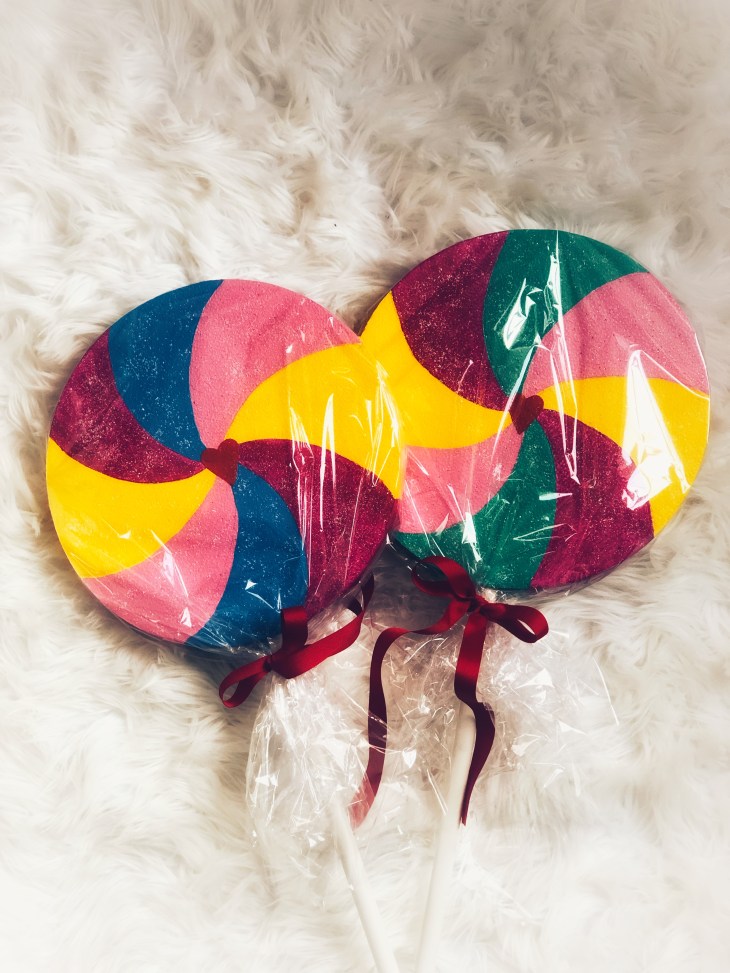
Then I painted them and to make them look slightly different I painted one green and one blue.

Then I sprinkled on glitter and added a heart decal in the center of each one.


With a pencil I traced a dowel onto the bottom of the round.
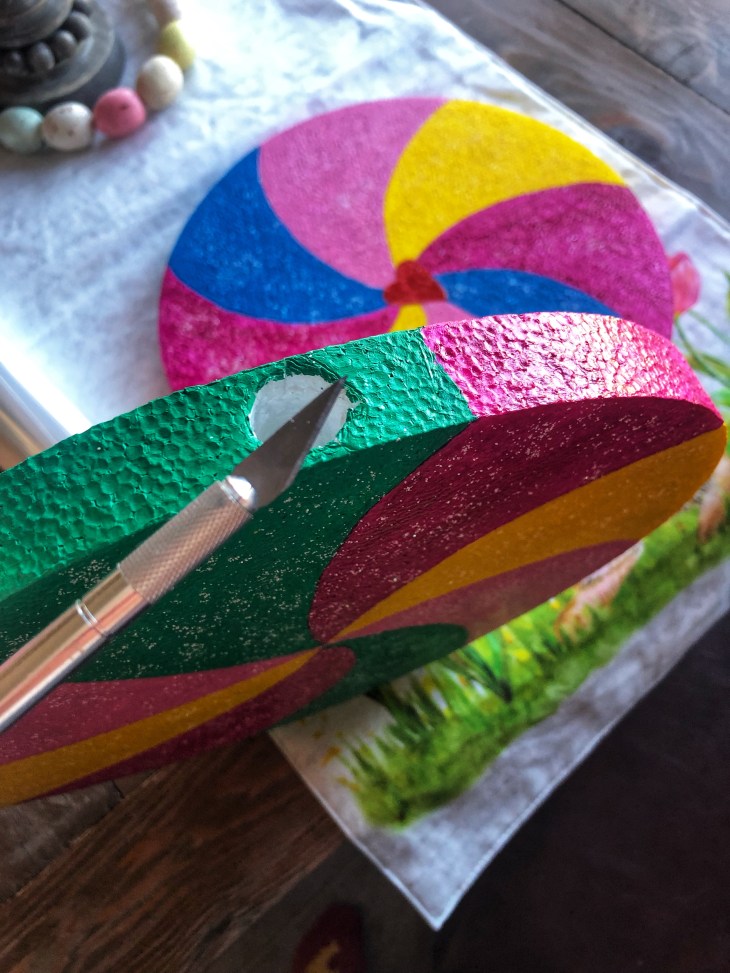
Then I cut a hole about 1″ deep.
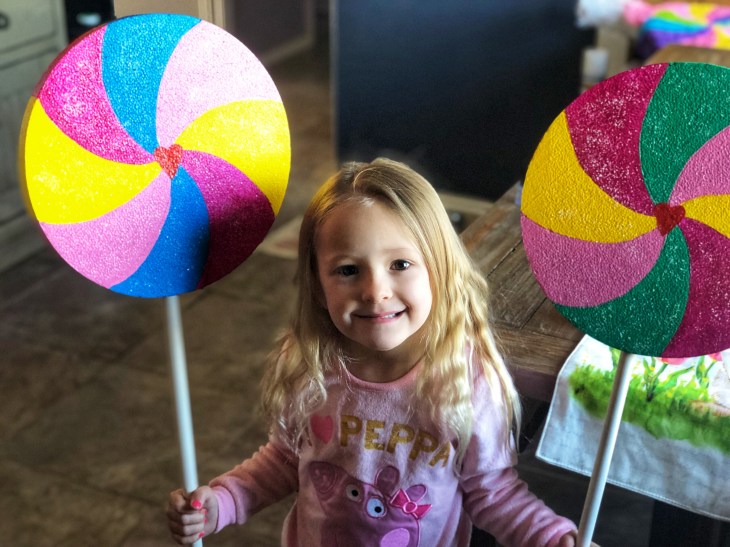
After I spray painted the dowel rods I glued them inside of the rounds. You can use acrylic paint too, but spray paint is easier. 🙂
At this point you can call it a day and be done making your props if you don’t want to pay for a roll of cellophane and ribbon.
Note: A large roll of cellophane costs $10 at Michael’s and you can get it for $6 if you use the 40% off coupon. It’s a huge roll and I plan on using it for other birthday projects so it’s definitely worth the six bucks in my opinion. Just letting you know in case you were wondering about the costs… with the coupon the cellophane and ribbon were $8 total. 🙂
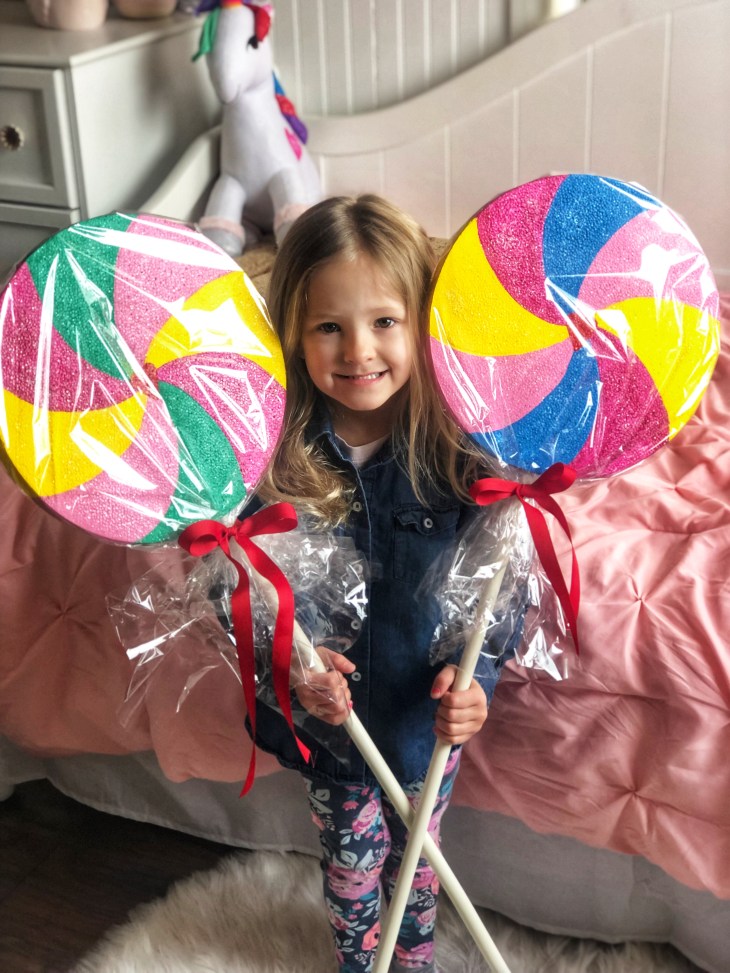
Here they are after we wrapped them in cellophane and put on the finishing touch, a cute red ribbon!

They turned out SO CUTE! I can’t wait to use them at Belle’s party!
Stay tuned for more sweet shoppe projects. I’m also going to post an article about the party once it’s done. Hope you enjoyed. xoxo 🙂
Supplies
- 2 Dowel rods
- 2 Styrofoam rounds
- Paint (preferably acrylic, but never oil paint)
- Glitter… it makes everything magical!
- White spray paint for the dowels (or acrylic)
- Cellophane wrap
- Red ribbon
- Kitchen or Exacto knife
- Wood glue or hot glue to stick the dowel into the Styrofoam
- Scissors
- Pencil

Hehe it looks like an awesome party in the making 😀 It’s sometimes good to be a little bit over the top I think xD
LikeLiked by 1 person
Thanks Annika, I think so too when it comes to little kids 🙂
LikeLiked by 1 person